How to Configure the Custom Domain
Maintain your brand's experience by having your own custom domain!
Benefits for you as a professional: It strengthens your brand identity which creates a cohesive experience for clients. It allows you to have greater control over your online presence and client communication. It provides the flexibility to tailor the client engagement experience to your specific needs.
Benefits for your clients: It increases trust and security as it reinforces the client’s confidence in the professional services. It also provides clearer communication, avoiding confusion.
Understanding the Basics
Custom Domain: Your own web address (e.g., yourbusiness.com).
Domain Provider: The company where you registered your domain (e.g., GoDaddy, Namecheap, Google Domains).
DNS (Domain Name System): A system that translates domain names into IP addresses.
A Record: A type of DNS record that maps a domain to an IP address.
IP Address: A numerical label assigned to each device connected to a computer network that uses the Internet Protocol for communication. This is provided by the platform to which you are linking your domain.
CNAME Record: A type of DNS (Domain Name System) record that creates an alias, pointing one domain name or subdomain to another domain name. In simpler terms, it says "this domain name is an alias of that other domain name.
Main Domain vs Subdomain
Main domain ( A record)
An example of this is @ ( the main branch), which directs with the IP address 192.16.1.10
Subdomains can be an extension of a primary domain, acting as a secondary domain. Subdomains appear to the left of the primary domain name, helping organise different sections or functionalities of a website while remaining part of the primary domain. They serve as prefixes added to the root domain, creating distinct areas that can function independently or provide specific content without requiring a separate domain
An example of this is your subdomain clinictoolkit.com (smaller branch)
Domains help users quickly identify and access websites, while subdomains provide a way to categorise and navigate to specific sections within those websites
Existing Domain
It is a domain name already registered and used by you. You can use it to connect to various online services, but you'll need to verify that you own it and configure its DNS settings correctly.
In simpler terms:
An A record is like a direct phone number.
A CNAME record is like saying, "call this other person, they have the number you need."
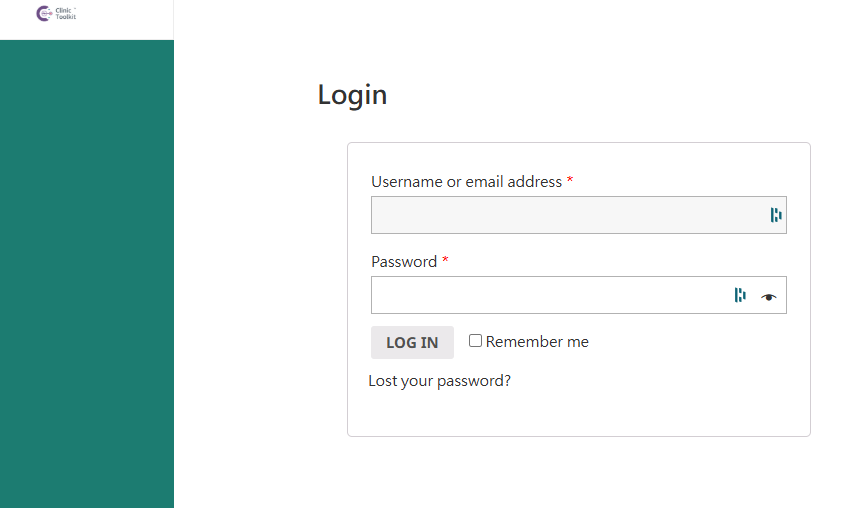
First Step: Login to your Clinic Toolkit
Second step: Go to the Clinic Toolkit Custom Domain page here: https://clinictoolkit.com/custom-domain/
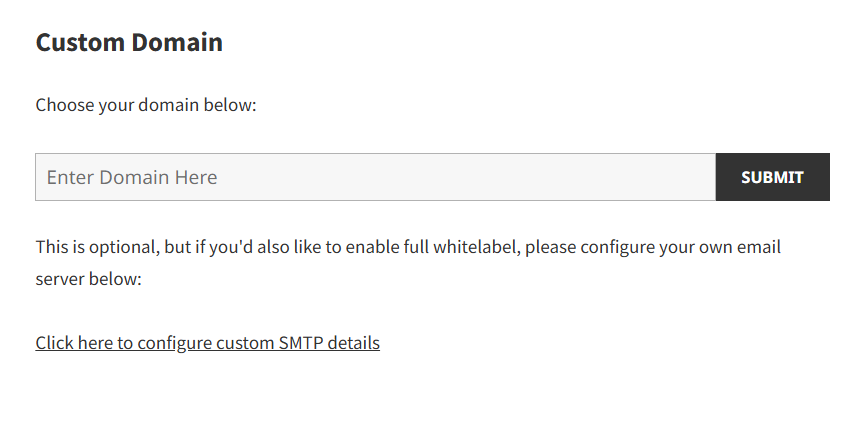
Third Step: Create and type in your preferred custom domain name
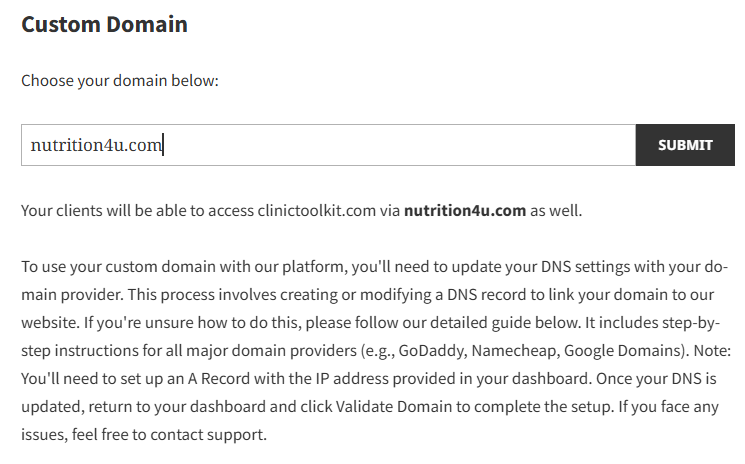
Note: You must first create an account with your domain register and purchase your custom domain before proceeding to the next step below:
Fourth step: How to Set up an A record ( Main domain) with the IP address provided
Log In: Log in to your domain registrar's or DNS provider's website.
Find DNS Management:
Navigate to the section where you manage your domain's DNS records. This might be called "DNS Management," "DNS Records," or something similar.
Add a New Record:
Look for a button or option to add a new DNS record. It might say "Add Record," "Create New Record," or something similar.
Select A Record:
Choose "A Record" as the type of record you want to create.
Enter Host/Name:
For your main domain (e.g., yourdomain.com):
Enter "@" or leave the field blank.
Enter IP Address:
In the "Value," "Points To," or "Destination" field, enter the IP address that you want to point your domain or subdomain to.
Save Changes:
Click the "Save," "Add Record," or "Update" button to save your changes.
Wait for Propagation:
DNS changes can take some time to propagate across the
Fifth step: How to set up your CNAME record ( Subdomain)
1. Access Your DNS Management Settings:
Log in: Start by logging into your account with your domain registrar (e.g., GoDaddy, Namecheap, Google Domains) or your DNS provider (e.g., Cloudflare).
Navigate to DNS: Find the section where you manage your domain's DNS records. This is often labelled "DNS Management," "DNS Records," or something similar.
Select your domain: Ensure you've selected the correct domain for which you want to create the CNAME record.
2. Add a New CNAME Record:
Add record: Look for an option to add a new DNS record. This might be a button labelled "Add Record," "Create New Record," or something similar.
Choose CNAME: Select "CNAME" from the list of record types.
3. Enter the Required Information:
Host/Name/Alias:
This is the subdomain you want to create the alias for.
For example, if you want www.yourdomain.com to point to another domain, enter program.
If you want program.yourdomain.com to point to your main domain, enter www.
Important: Only enter the subdomain part, not the full domain.
Value/Points To/Target:
This is the domain name you want the subdomain to point to.
Enter the fully qualified domain name (FQDN). For example: www.yourdomain.com.
Important: Always include the trailing dot (.) in the target domain name. This signifies that it's a fully qualified domain name.
TTL (Time To Live):
This determines how long DNS servers cache the record.
You can leave this at the default value (e.g., 1 hour, 3600 seconds).
4. Save Your Changes:
Save: Click the "Save," "Add Record," or "Update" button to save your changes.
5. Wait for DNS Propagation:
Propagation: DNS changes can take some time to propagate across the internet. This can range from a few minutes to up to 48 hours.
Test: After some time, you can test if the CNAME record is working by trying to access the subdomain in your web browser.
Final Step: Domain Validation:
Detailed Steps for Domain Validation:
1. Access Your Platform's Dashboard:
Log in: Open your web browser and navigate to the platform where you're setting up your custom domain.
Authenticate: Enter your username and password to log in to your account.
Navigate to Domain Settings: Find the section of your dashboard where you manage your custom domains. This might be labelled "Domain Settings," "Custom Domains," "Site Settings," or something similar.
2. Locate the Domain Validation Area:
Find the Domain List: You should see a list of domains connected to your account, or an area where you've previously entered the domain you intend to validate.
Identify the Domain: Find the domain you've just updated the DNS records for. It will likely be in a "pending," "unverified," or similar state.
3. Initiate the Validation Process:
"Validate Domain" Button: Look for a button or link labeled "Validate Domain," "Verify," "Check DNS," or something similar.
Click the Button: Click the validation button to initiate the process.
4. The Platform Checks DNS Records:
Automated Check: The platform will now automatically check your domain's DNS records.
Propagation Time: Remember that DNS changes can take time to propagate across the internet. This can range from a few minutes to 48 hours. The platform will be attempting to check for the presence of the DNS records you have just changed.
5. Validation Outcomes:
Successful Validation:
The platform will display a success message if it finds the correct DNS records.
Your domain's status will change to "verified," "active," or similar status.
You should now be able to use your custom domain with the platform.
Failed Validation:
The platform will display an error message if it cannot find the correct DNS records.
The error message might provide information about why the validation failed (e.g., "DNS records not found," "Incorrect IP address").
6. Troubleshooting Failed Validation:
Double-Check DNS Records:
Log in to your domain registrar's or DNS provider's control panel.
Verify that you entered the correct A or CNAME records.
Ensure there are no typos or errors.
Wait for Propagation:
If you recently made the DNS changes, wait a bit longer for them to propagate.
Try validating the domain again after some time.
Clear Browser Cache:
Sometimes, your browser's cache can interfere with DNS lookups.
Clear your browser's cache and try validating the domain again.
Flush DNS Cache:
On your local computer, you can flush your DNS cache. This forces your computer to retrieve fresh DNS information.
Windows: Open Command Prompt and type ipconfig /flushdns.
macOS: Open Terminal and type sudo killall -HUP mDNSResponder.
Linux: Open Terminal and type sudo systemd-resolve --flush-caches or sudo /etc/init.d/nscd restart.
Contact Support:
If you've tried all the troubleshooting steps and the validation still fails, contact the platform's support team.
Provide them with your domain name and any error messages you've received.
Provide them with screenshots of your DNS records.
Important Considerations:
Patience: DNS propagation can take time. Be patient and avoid repeatedly clicking the validation button.
Accurate Records: Ensure your DNS records are accurate and match the instructions provided by the platform.
Support: Don't hesitate to contact support if you encounter any issues.
How to configure your mail server ( SMTP)
SMTP settings are essential for sending emails.
What is SMTP?
SMTP stands for Simple Mail Transfer Protocol. It's the standard protocol for sending emails over the Internet. Think of it as the postal service for your outgoing messages.
Why do you need SMTP settings?
Whether setting up an email client (like Outlook) or configuring a website or application to send emails, you'll need SMTP settings to ensure your messages reach their destination.
Key SMTP Settings
SMTP Server Address (Hostname): This is the address of your outgoing mail server. It usually looks something like smtp.example.com (replace example.com with your email provider's domain).
SMTP Port: This is the port number used for communication with the SMTP server. Common ports include:
25: Historically the default, but often blocked by ISPs due to spam concerns.
587: The recommended port for secure SMTP connections using TLS/STARTTLS.
465: Used for secure SMTP connections using SSL.
Authentication: Most SMTP servers require authentication to prevent unauthorised use. You'll need:
Username: Your email address or a specific username provided by your email provider.
Password: The password associated with your email account or the provided username.
Email from: Use your preferred email address, ideally from your company (e.g.[email protected]).
Security (SSL/TLS): These are protocols that encrypt your email communication, protecting your login credentials and the content of your messages. Enabling SSL/TLS is highly recommended whenever possible.
General Steps for Configuring SMTP
Gather Information: Collect the SMTP server address, port, username, and password from your email provider or the service you're using.
Access Settings: Open your email client, application, or website's settings, where you can configure outgoing mail or SMTP options.
Enter Details: Fill in the required fields with your gathered SMTP information.
Test Connection: Most email clients or applications have a "Test" or "Verify" button to check if the SMTP settings are correct.
Save Changes: Save your settings; you should be ready to send emails.
Important Notes:
Security: Always use a secure connection (SSL/TLS) if your SMTP server supports it.
Firewall: Make sure your firewall isn't blocking the SMTP port you're using.
Troubleshooting: If you encounter issues, double-check your settings for typos and consult your email provider's documentation for troubleshooting tips.