Benefits for you as a professional: It is an organised space for essential documents and resources, easily shared with specific client/s or a group, saving valuable time and effort.
Benefits for your clients: It is a dedicated space for reliable sources for your clients. It saves time and effort and eliminates the frustration of sifting through irrelevant or misleading content
Click on the “Client Resources” tab in the left-hand side menu.

If this is your first resource click on “Create your first client resource”. If you have at least 1 other resource already added click on the “Create your client resource“ button on the right.

This will open the Manage Client Resource page.
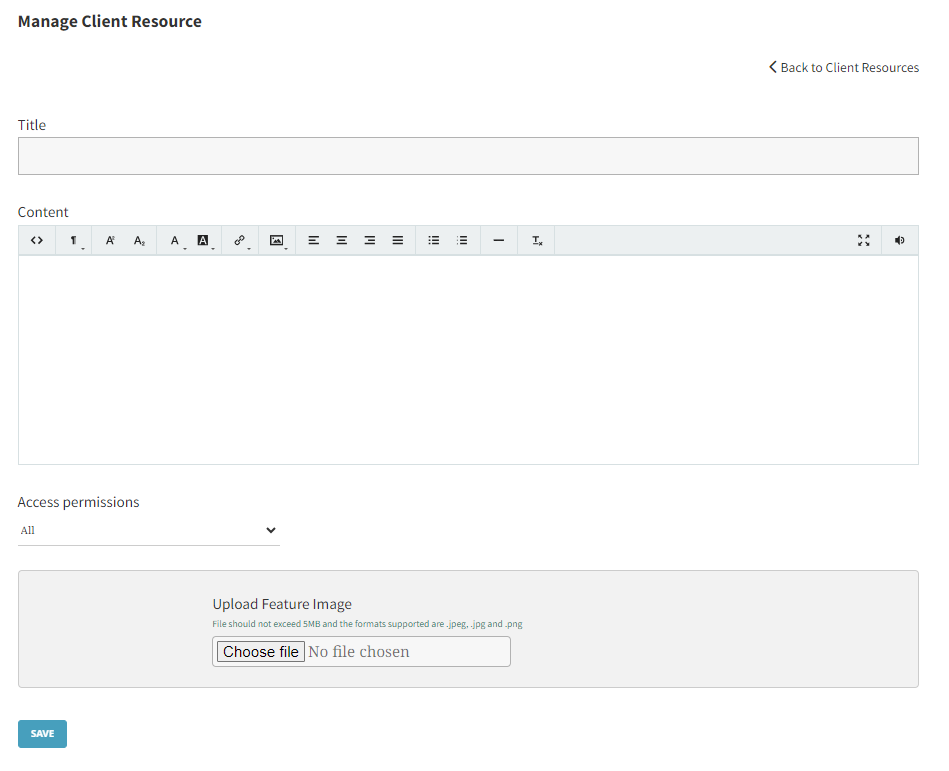
Enter the Title.
Enter the Content. You can change font size and colour, add links, and images, insert audio, and so on.
Set the Access permissions. You can select All, Group, Individual client, or None (this would then be just for yourself).
If you select Group, search for the group to which you want to have access to this resource by entering the first 3 characters in the search bar.
If you select Individual, search for the individual client you would like to have access to this resource.
Next, upload a Feature Image (which should be less than 5 MB and of the formats .jpeg, .jpg, or .png. If you do not upload an image, your saved brand logo (which you can update in Settings under Branding) will be the default image used.
If you want to upload a file, click “Choose file” to open it in the Upload File Attachments box. The file should be less than 5 MB and of the formats .pdf, .doc. .docx, .jpg, .jpeg and .png.
Finally, click the Save button at the bottom of the page.
Start here
When you have multiple resources, you may want to quickly be able to search for the one you need rather than look at pages of resources.
To do this, type at least 4 characters from the resource title that you are looking for.
You can change how you want your client resources to be ordered based on alphabetical order or by most recently added.
To change the sort order, click the “Sort by A - Z” (which is set as the default) dropdown menu to the right of the search bar.
Then select the option that you prefer:
A – Z
Z – A
Recent
Oldest
Your client will only see the resources that you've specifically shared with them.
For example, they will see the resources that you've designated via the Access Permission section:
All (the resources will be visible to all your clients)
Individual (with their name selected)
Group (any materials accessible to their relevant group, if they are a member)